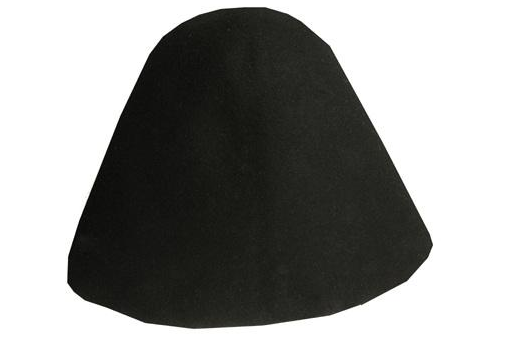
One of the simplest ways of making a hat is to start out with a ready-made cone. You can get them everywhere in wool, quite often very cheaply, but in the example I'm about to show you, I used a
jute cone from Nehelenia Patterns.
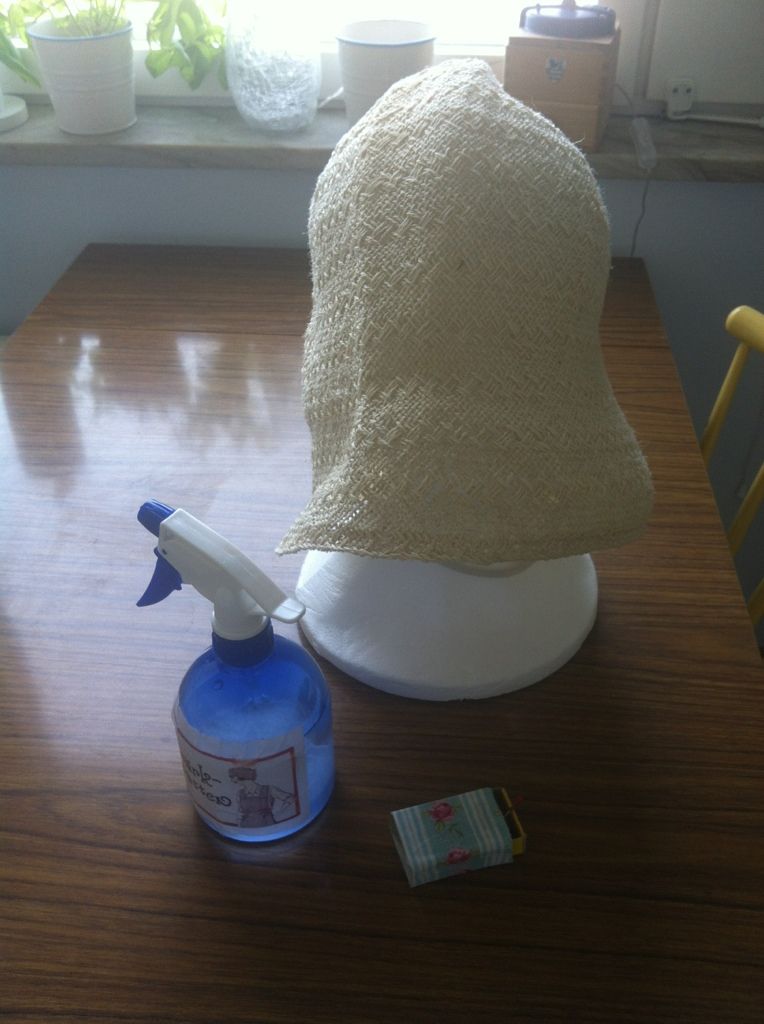
You need:
1. hat cone
2. water and cornstarch, mixed in a spray bottle
3. lots of pins
4. pot of boiling water
5. hat block or wig holder or similar (I used a styrofoam head - I have a wood hatblock which is great for fitting and blocking, but the styrofam head is easier to handle and better for pinning when you're draping and shaping IMO)
6. plastic
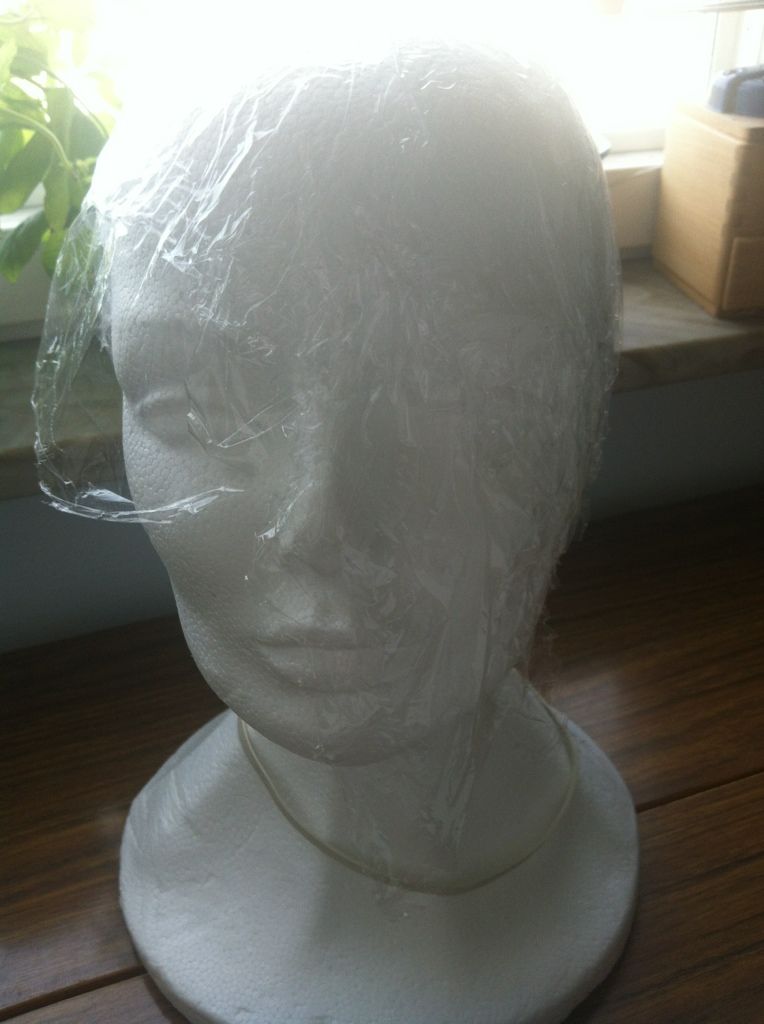
Cover your hatform/hatblock with the plastic. Like this:
It's just to make sure that the hat doesn't stick to your hatblock/styrofoam head. You won't keep it.
Hold the hat over the boiling water until it's thoroughly steamed (I don't have a picture for this, but I kinda think you'll get it anyway). Spray down the inside (just the inside!) with the starch.
Put the hat on your form and stretch it until you have flattened the crown down. Pin it down.
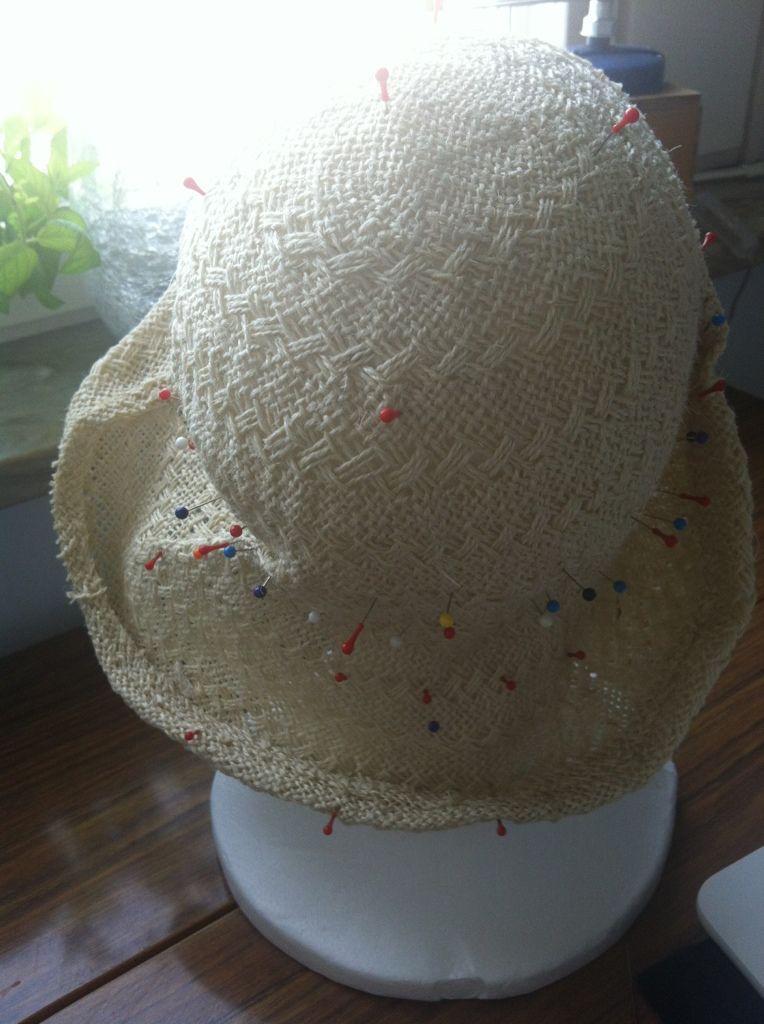
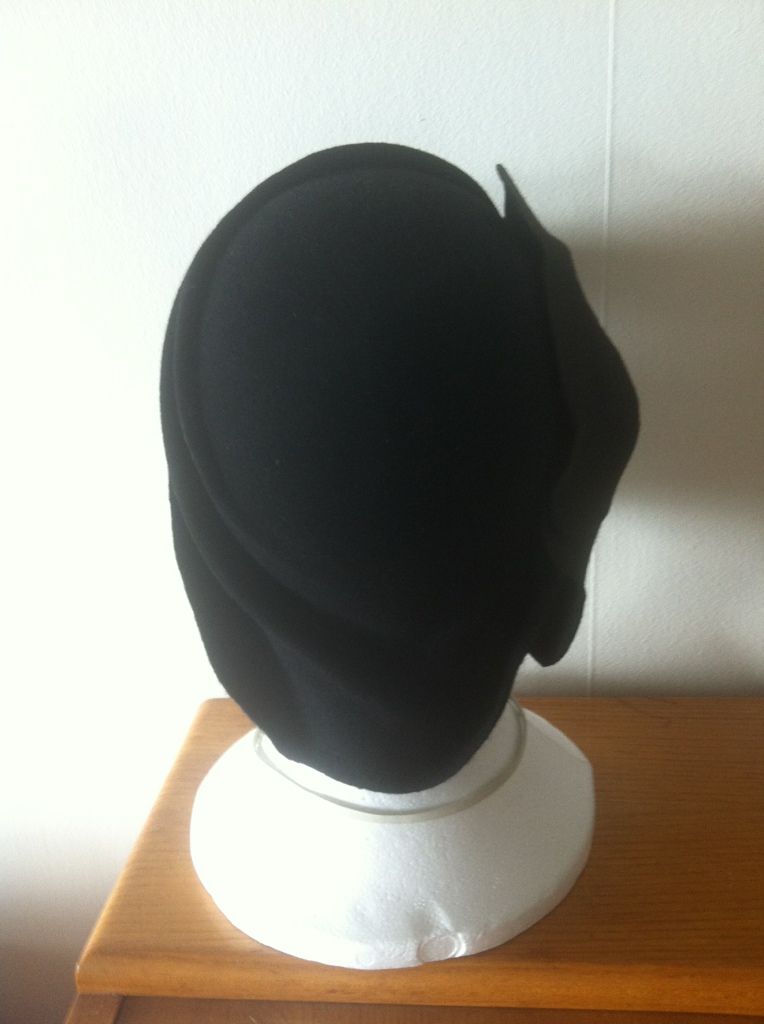
Shape the hat as you want it - make ridges and drapes, form the brim as you want it. The hat is going to be soft and stretch easily, so it's not hard. If the hat seems uncooperative, try a little more steam (you can hold the styrofoam head over the pot and just apply a little more steam where you need it). Pin the hat down as you go.
Like this:
If it all goes kablooey, don't worry. You can just start from the beginning by steaming it up and reblocking/reshaping it.
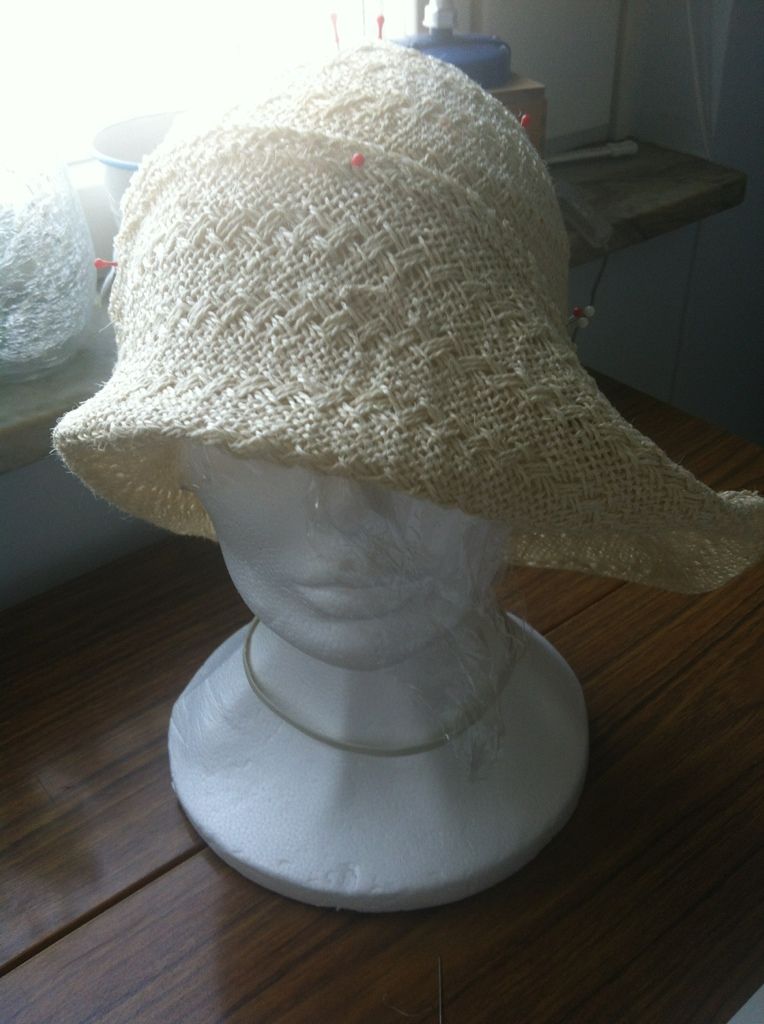
Once you have a shape you like, make sure it's thoroughly pinned in place and leave it for at least 6 hours to dry.
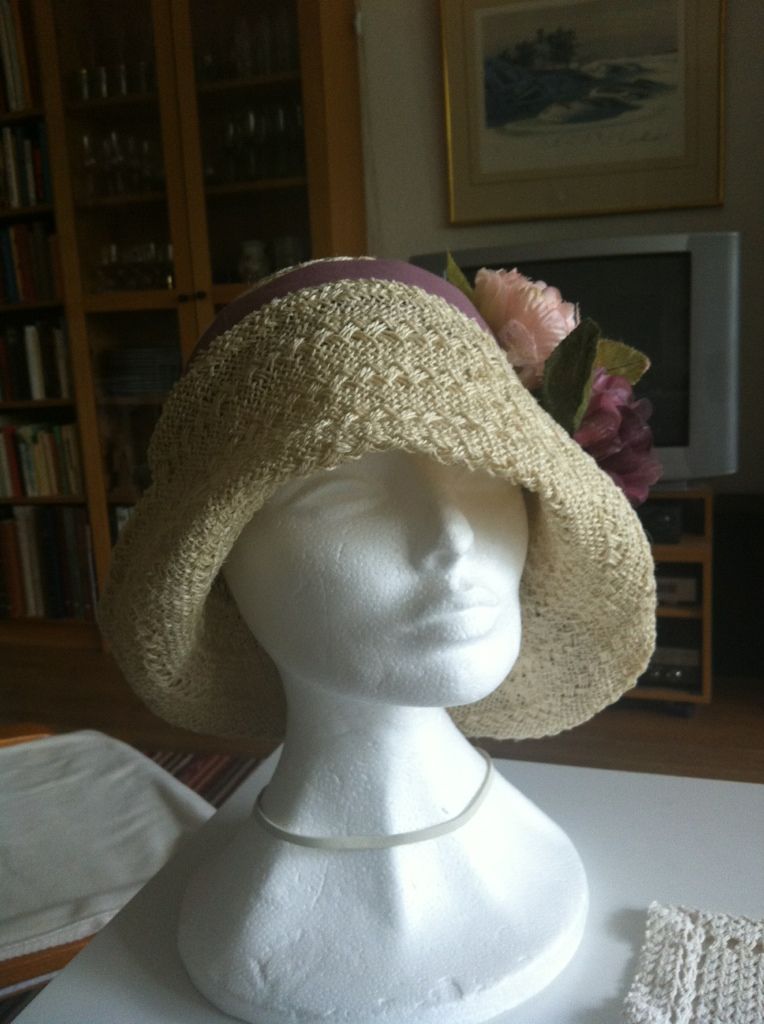
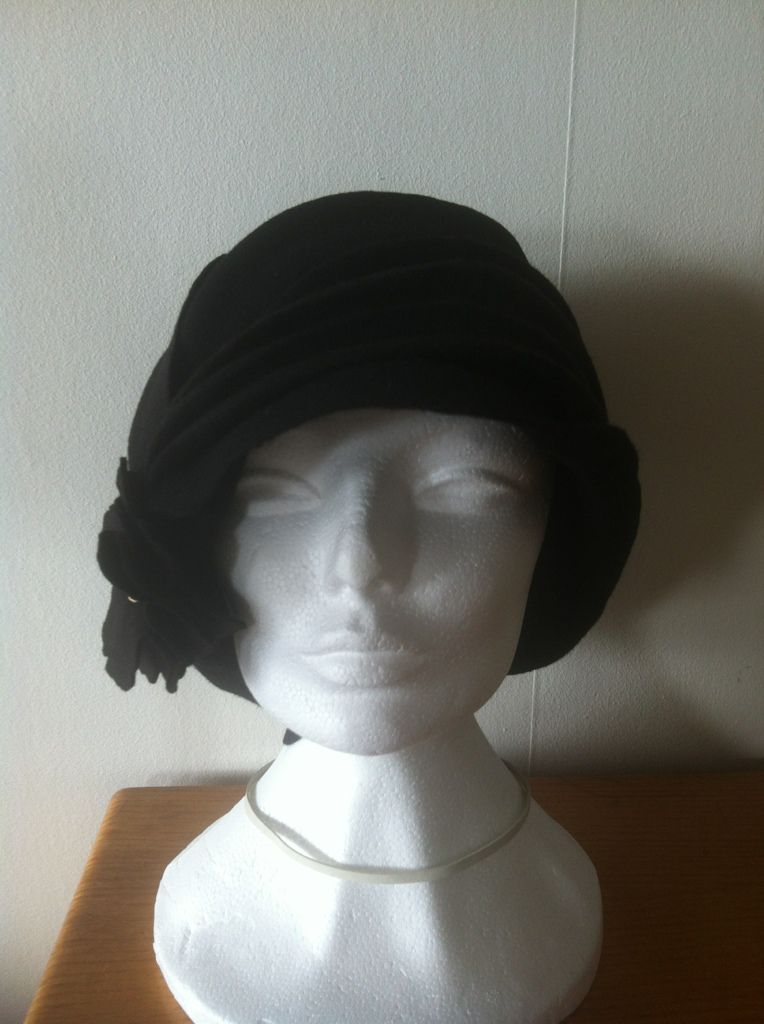
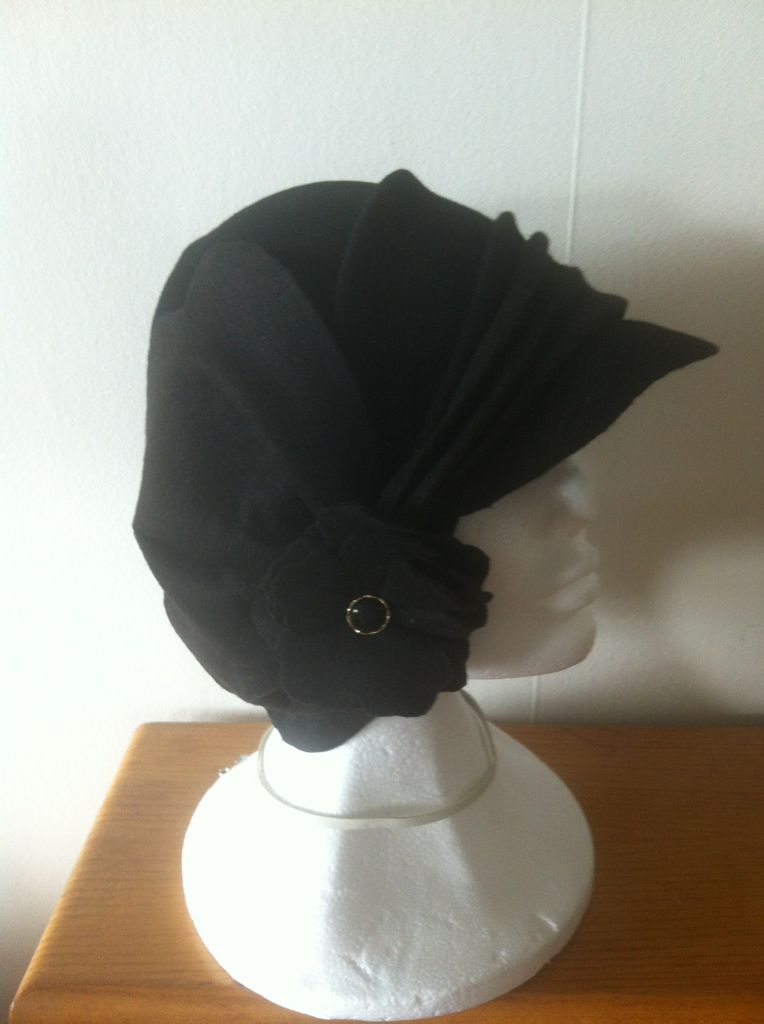
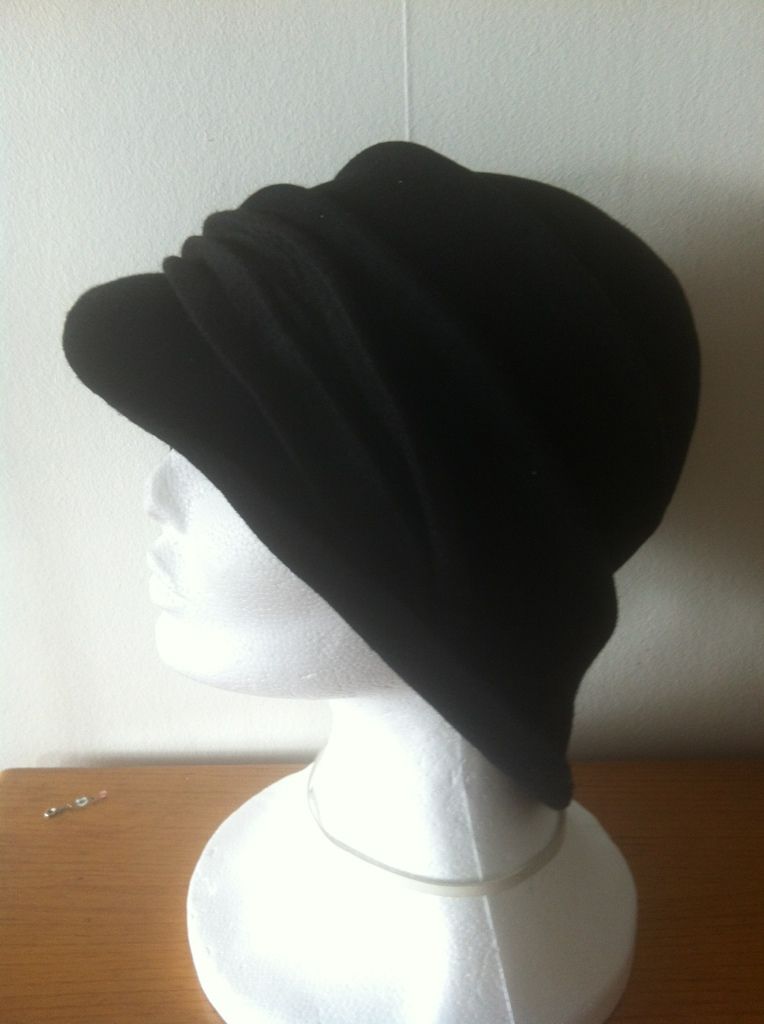
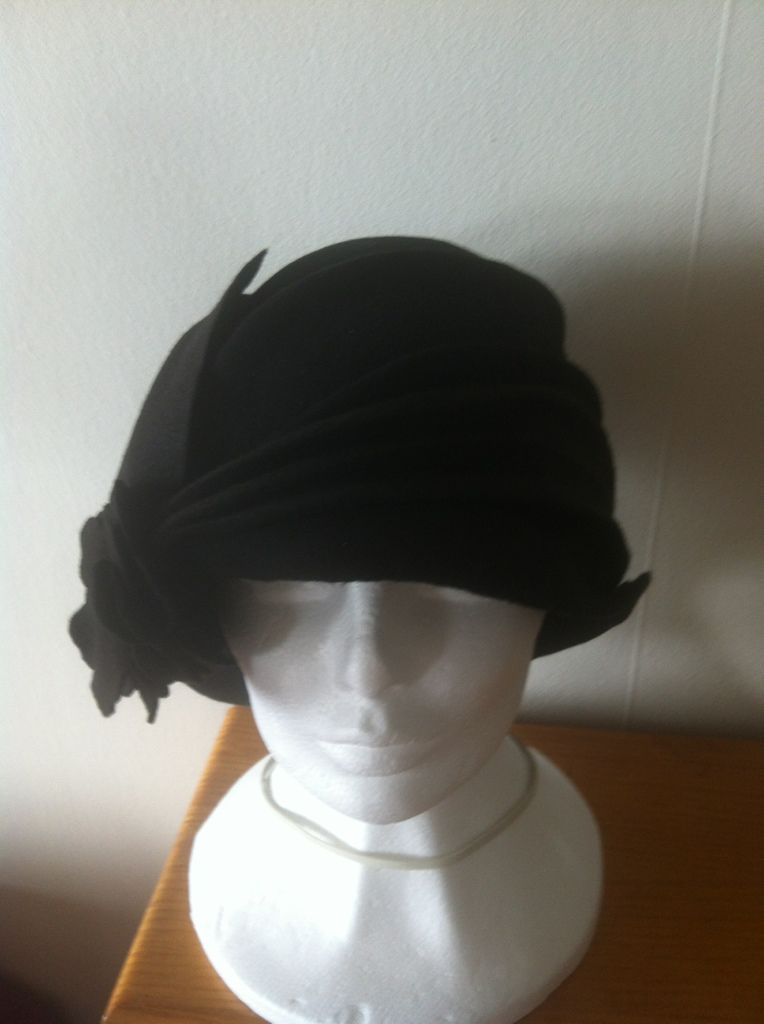
Here's mine:
Once it's dry, it will be quite firm and hold its shape. It's partly the steaming and partly the starch that does the trick.
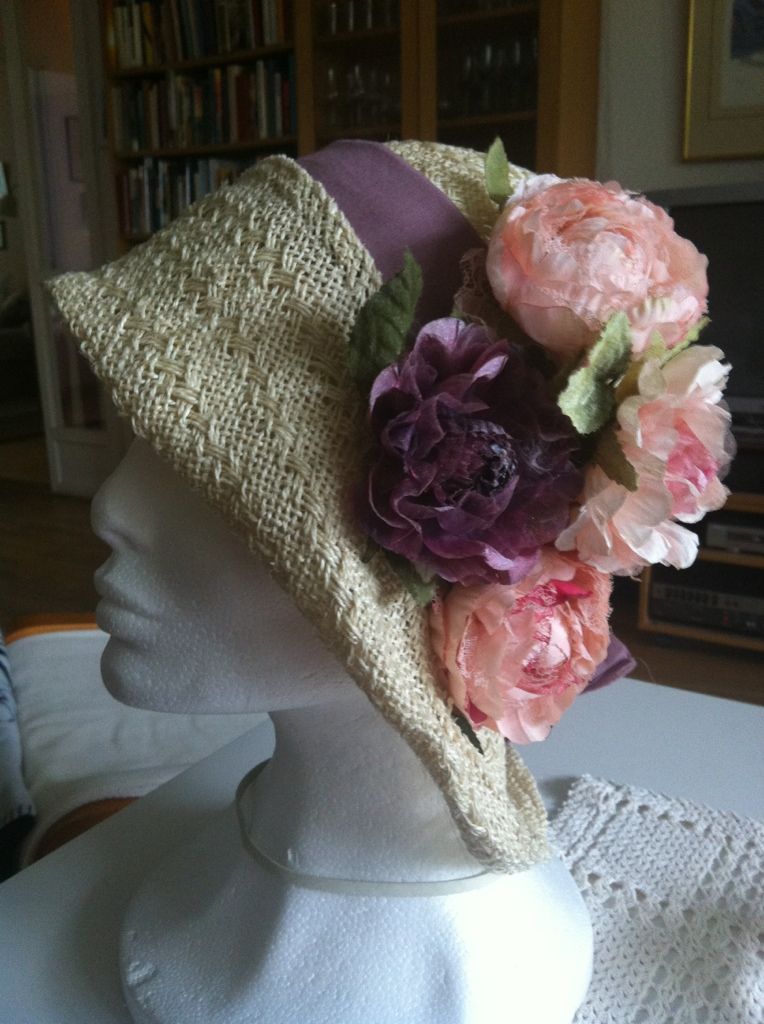
Now the fun starts. You can apply any sort of trimming you like - ribbons, flowers, butterflies, bows... You can match it to the outfit you're going to wear it with by using the same or matching colours and styles, because it's no biggie to swap the trimmings for when you wear a different outfit. Just make sure to sew and not glue any trimming on, and you can just snip them off and stitch whatever else you like.
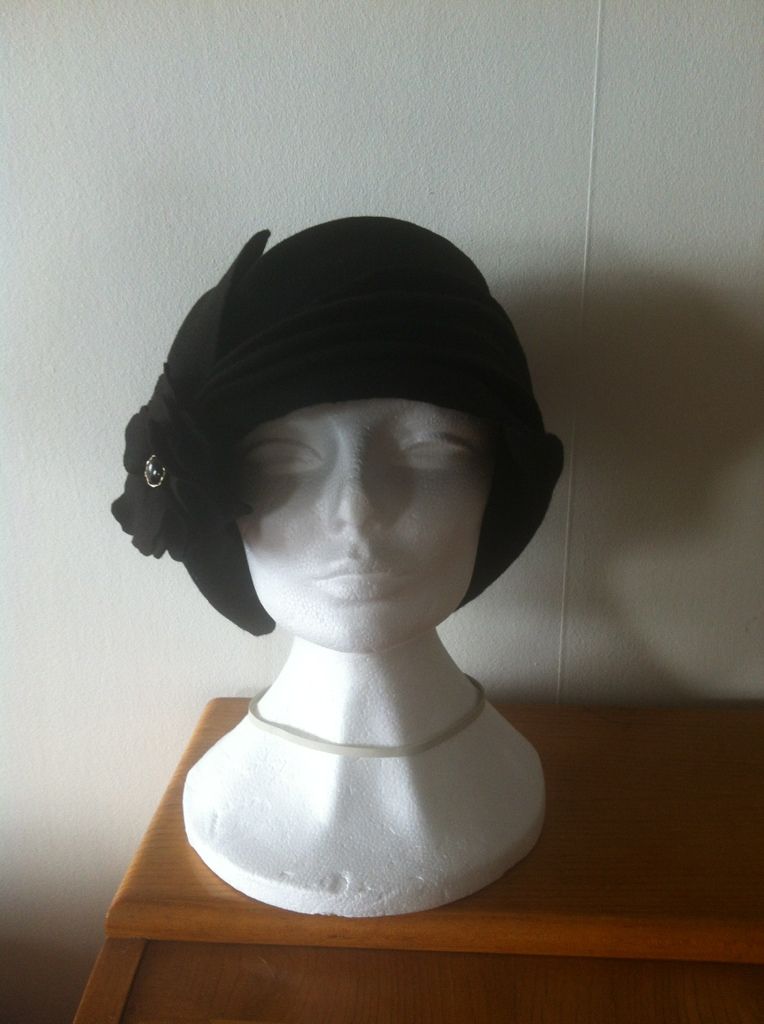
For this, I used some paper flowers I had lying about, and some scraps of fabric. I sewed a wide ribbon out of the fabric and tied a bow at the back, before stitching the flowers in place on the side.
Eh voilà! That's it!
A brand new summer hat!